A not so classic Chip8 emulator
2017 · C++ · OpenGL · GLM · Source · Demo
I always found emulators to be amazing pieces of software. The first one I used was a SNES emulator, which I used to play classic games I could never get when I was a kid. I thought those beasts were black magic, something I would never be able to grasp.
Motivations
I basically wanted to improve my OpenGL (and C++) skills through a fun project. I always wanted to make an emulator, and the Chip8 is a fairly easy one to start with. So why not make the rendering 3D so I could move “inside” the game?
Here is a small video of what it looks like: watch the demo on YouTube.
About Chip8
Chip8 is actually a virtual machine developed in the 70s by Joseph Weisbecker. So it was never a real console to begin with, but we can still emulate it. There have been plenty of games written for it, so we can run them later in our emulator.
This is probably the easiest emulator you can start with, since it has a very small number of opcodes and they are pretty simple to implement. Tobias V. Langhoff's CHIP-8 emulator guide is a useful modern reference for the instruction set and its compatibility quirks.
You can also see the emulator in action in another YouTube video.
C++ data modeling
;
;As we can see, that machine is very simple. We've got 4 KB of memory to work with, 16 registers, and then some variables where we store the current opcode, the current index, and the value of the program counter (pc). There are two timers that are clocked at 60 Hz. Each one of them should be decremented 60 times per second. If the timerSound is above 0, we should play a sound.
If you are interested in knowing more about it, you should check this guide, which explains a lot more than I do.
Rendering
Usually, games are rendered in a 64 * 32 framebuffer. To make mine a bit different from the others, I decided to treat each pixel as a cube. Each single pixel is treated as an entity to be drawn. This is definitely not the most efficient way of doing it, but for such a small number of pixels, it worked well, with an average of 200 fps on a machine without a dedicated graphics card.
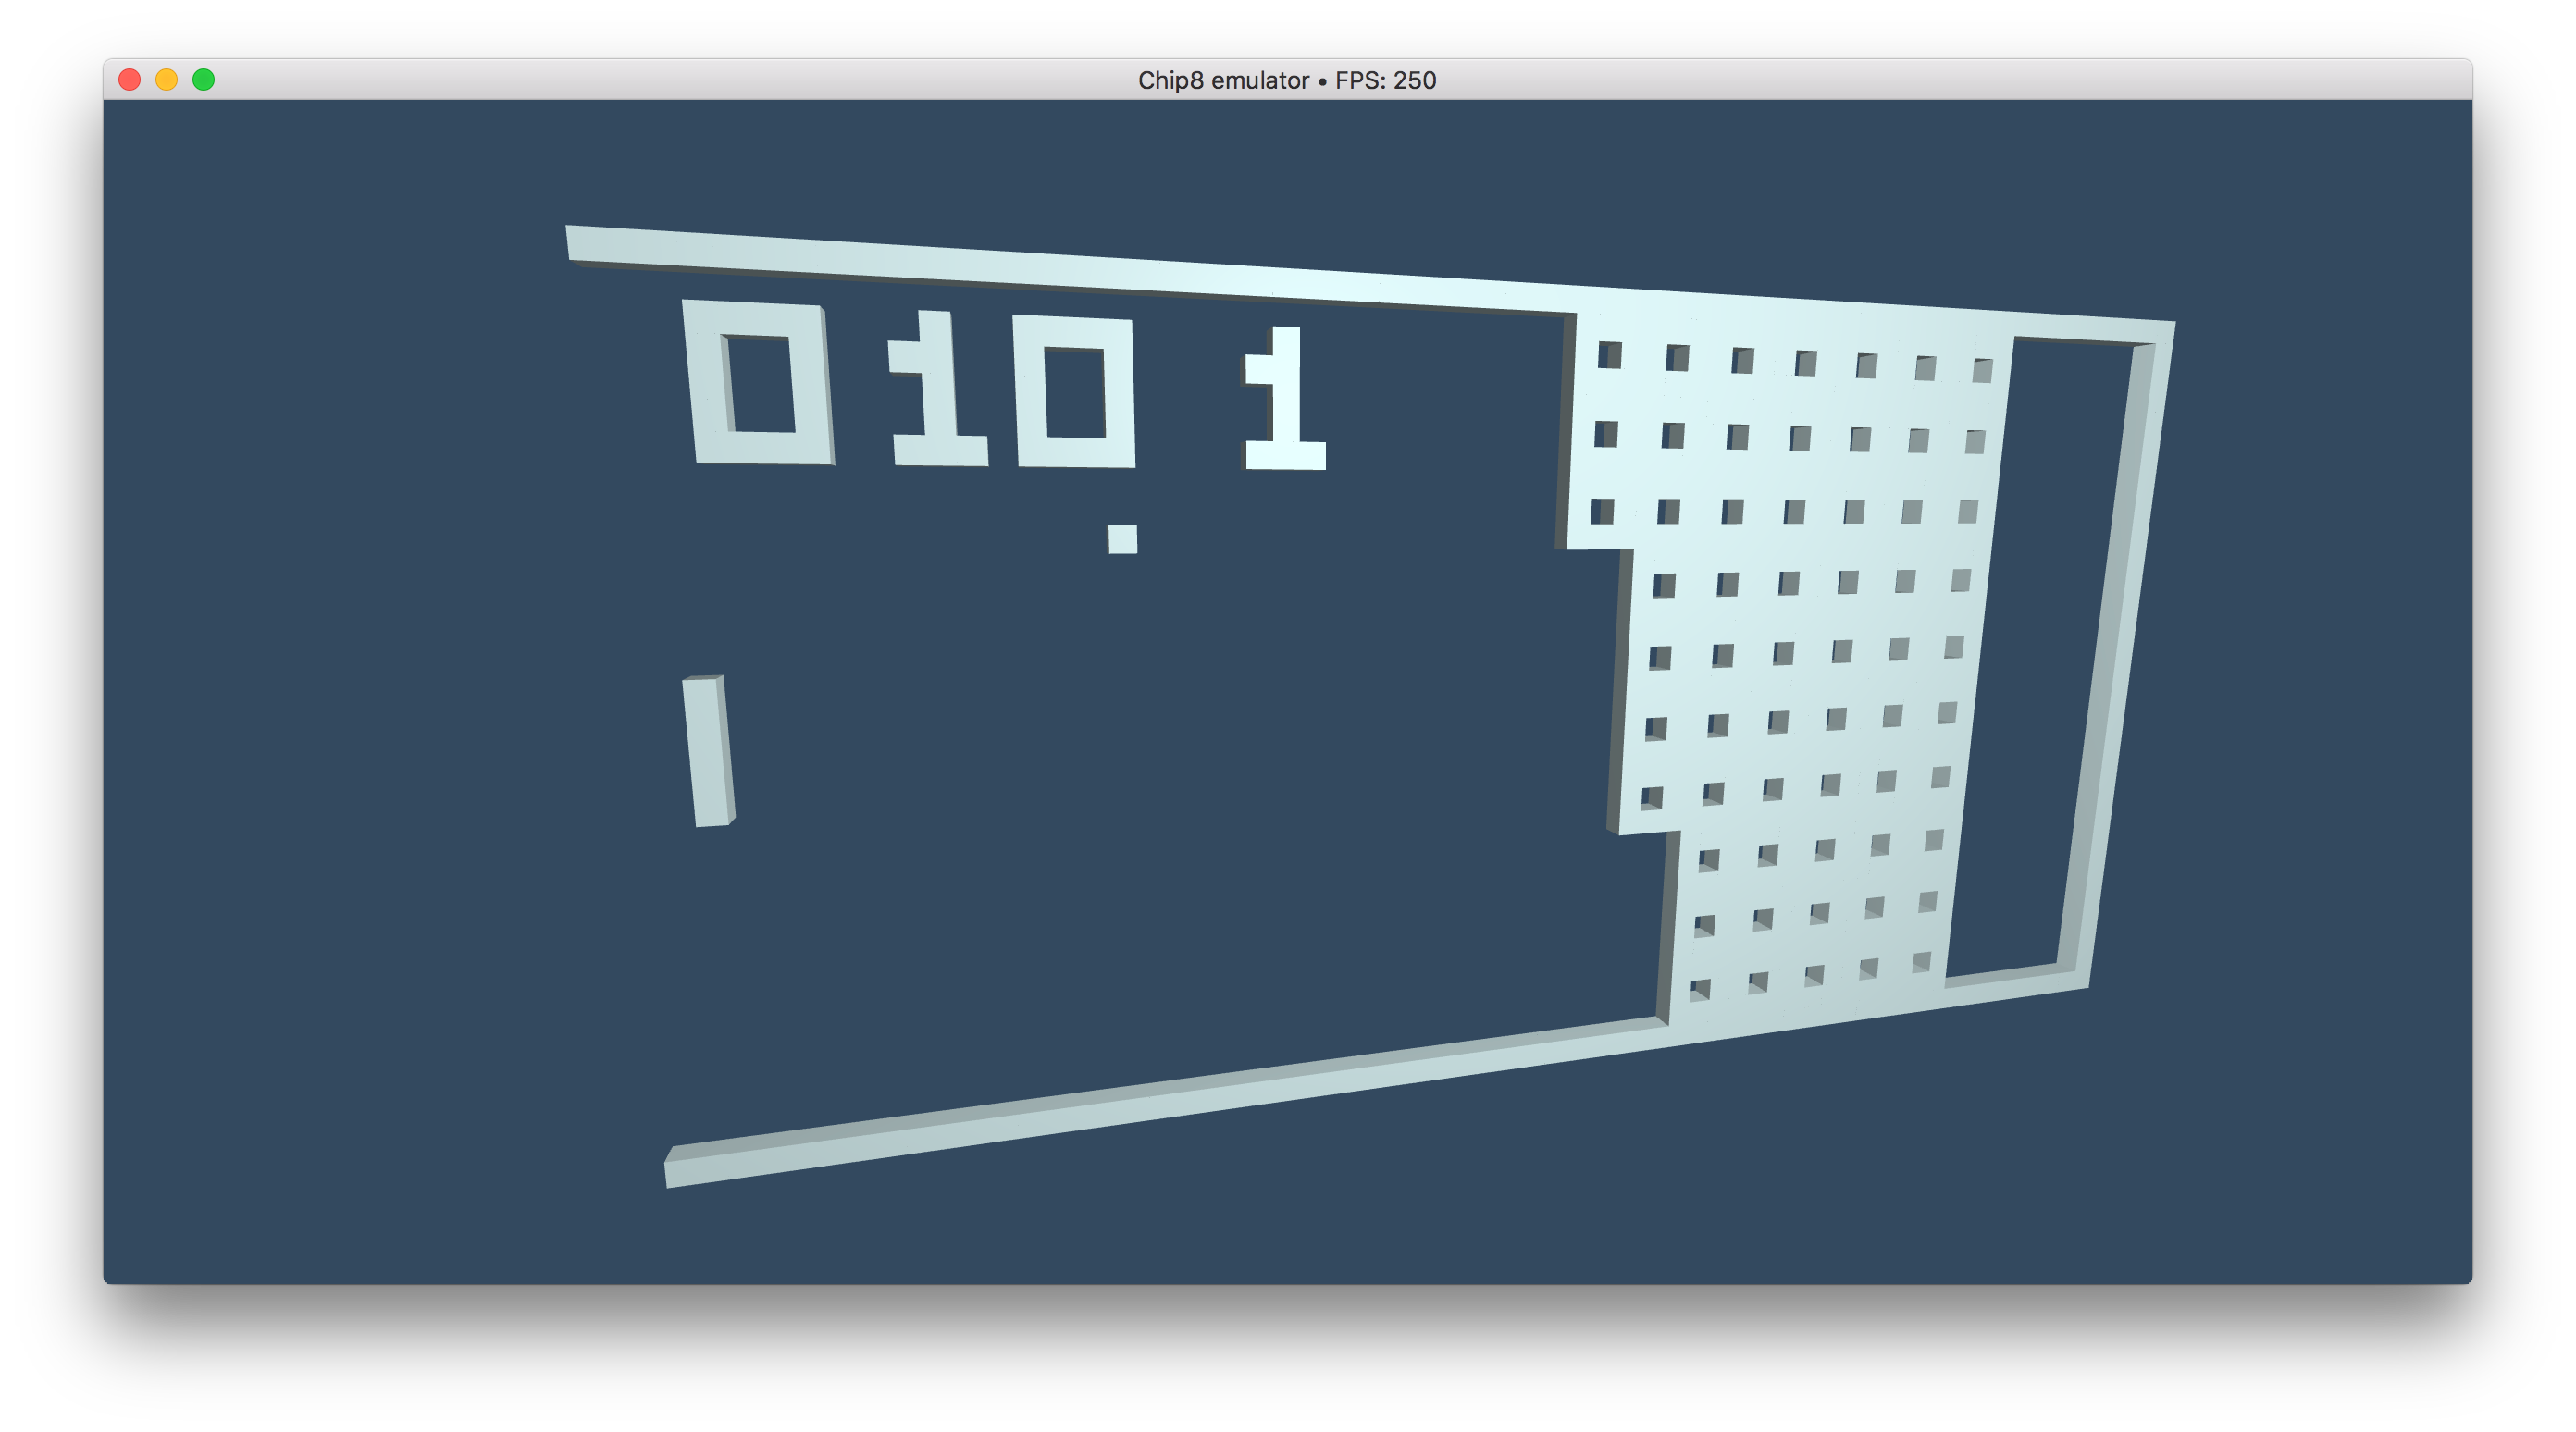
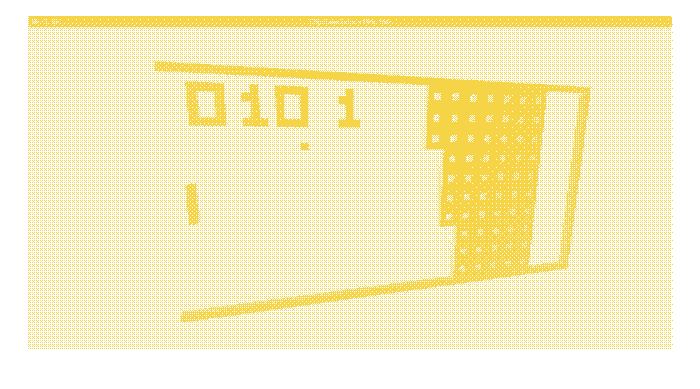
The 3D engine is a simple OpenGL renderer with a few shaders for the shadows and lights and a very basic free-fly camera. The most important part is to render that array of pixels as cubes and translate them into 3D using matrices.
auto view = camera.;
auto projection = ;
auto cameraPosition = camera.;
int i = 0;
for You can find the source for everything here.
A NES emulator should be a fun next exercise.
Back to Experiments · see also Monkey language interpreter made in Rust · Home.